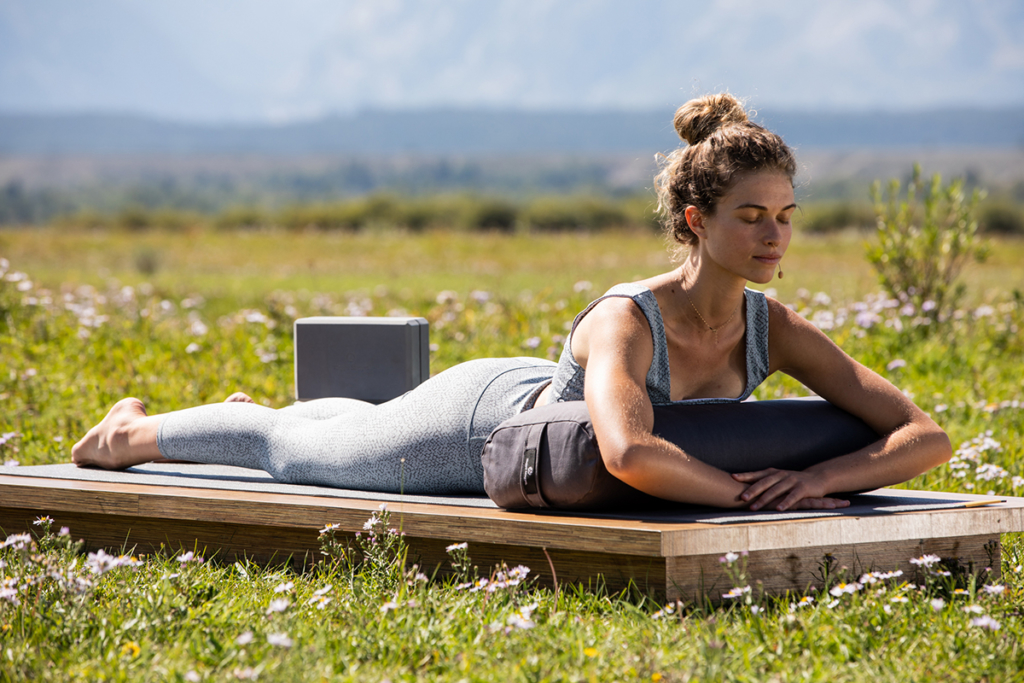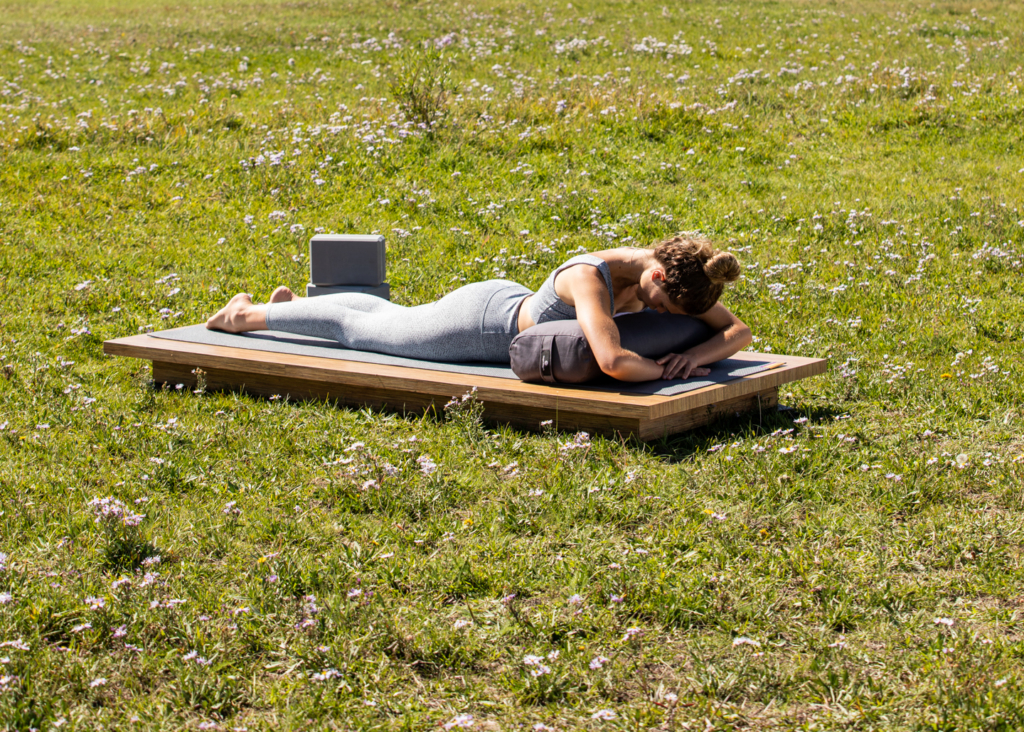
As a culture, we desperately need backbends. I’ve been teaching yoga since 1986. As such, I’m in the habit of noticing human posture. I can’t help but notice how many people—even young people—whose thoracic spines are habitually bent forward. Along with that come slumping shoulders and “forward head posture.” Yoga’s backbends are the perfect antidote. But active backbends may be too heating and energizing for an evening practice. (A student once told me she was up at 1:00 am vacuuming after we did an active backbend practice in an evening class!) The good news is that there are options for passive backbends, including Salamba Ardha Bhujangasana (Supported Sphinx Pose).
Why Practice Supported Backbends?
Supported backbends have benefits beyond being on the cooling side of the asana spectrum. Most active backbends are not easy to hold more than five to ten breaths. Supported backbends have the advantage of being easy to relax into for longer periods of time. This gives the body time to unwind gradually. In my experience, this is the power of Restorative Yoga. When you give your body sufficient time to settle into a pose, the benefits integrate more deeply.
Supported Sphinx Pose is one of several options for supported backbends. Others include Salamba Matsyasana (Supported Fish Pose) and Salamba Setu Bandhasana (Supported Bridge Pose). Adding these supported backbends to your daily practice can help counteract the effects of our forward-bent lives.

Supported Sphinx Pose Benefits
Because Supported Sphinx Pose is practiced in a prone position, it confers different benefits from the other two. First, while we can practice Supported Sphinx Pose completely passively, we can also easily add a back-strengthening element to it by alternately engaging and releasing. Here are some benefits beyond chest expansion:
- stabilizes the shoulders
- myofascial release of the abdomen
- strengthens back muscles
- lengthens the abdominal muscles without over-stretching the anterior hip capsule
- stabilizes the sacroiliac (SI) joints
Supported Sphinx Pose Cautions
Relaxing though it might be, Supported Sphinx Pose is not for everyone. If you have a back injury, including ankylosing spondylitis, proceed with caution or avoid the pose altogether. If you feel discomfort in entering, leaving or holding the pose, it’s best not to practice it. Sphinx Pose is also contraindicated for pregnant women because of the inherent pressure on the abdomen.
How to Practice Supported Sphinx Pose
- Gather your props: a Yoga Mat and Standard Yoga Bolster.
- Spread your yoga mat out and place your bolster at the “head” end of your mat.
- Lie face down on your mat.
- Ground your legs and feet and lift your upper body, leaving your pelvis on the mat.
- Position your bolster so that it supports your chest, allowing your upper arms to rest on it as well.
- Be aware of your head position. Avoid throwing your head back. Instead, lengthen the back of your neck and draw your hyoid bone back toward your throat. This will encourage your whole gut tube to draw back into your low back, giving frontal support to your spine. When you throw your head back, the guts hang off the front of the spine and the weight can strain your back. (Try alternately throwing your head back and then lengthening the back of your neck and drawing your hyoid bone back a few times to feel the difference.)
- You can remain in the supported version of the pose the entire time if you like. Alternatively, you can do a more active practice. For active practice, you can press the thighs into the floor so that the glutes squeeze together. So, press and hold for 3 to 5 seconds and release, then repeat 10 to 15 times. Then let it go and return to the passive version of the pose.
- Another variation is to add even more relaxation to your pose. Feel free to rest your forehead on your bolster at any time. Resting your forehead calms the nervous system.
- Stay in Supported Sphinx Pose anywhere from 3 to 5 minutes, breathing deeply and relaxing into the pose.
- When you’re ready to leave the pose, gently push your bolster out in front of you so that you can lie face down on the floor. Rest your forehead in your hands, breathe slowly and gently for several breaths before pushing up to a seated pose.

I can’t wait to add this pose to my evening classes. Thank you.